/ Innovation for Boating Safety


Phone
+36 70 336 3907
Working Hours
We are happy to meet you during our working hours.
- MonCET 8:00 - 17:00;
- TuesCET 8:00 - 17:00;
- WedCET 8:00 - 17:00;
- ThurCET 8:00 - 17:00;
- FriCET 8:00 - 15:00;
Phone
+36 70 336 3907
Working Hours
We are happy to meet you during our working hours.
- MonCET 8:00 - 17:00;
- TuesCET 8:00 - 17:00;
- WedCET 8:00 - 17:00;
- ThurCET 8:00 - 17:00;
- FriCET 8:00 - 15:00;
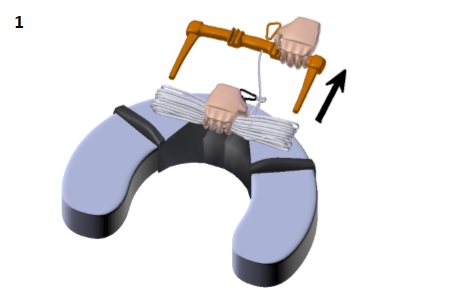
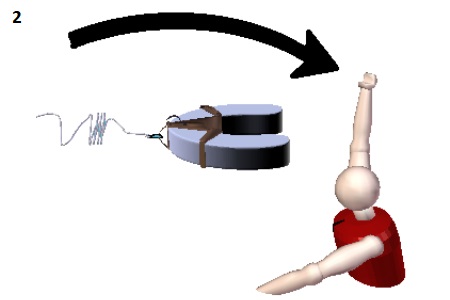
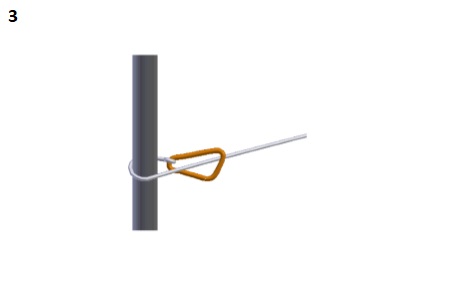
In an emergency lifesaving situation, the CLS Upgrade Kit may be used immediately, provided that no obvious damage or defect is visible that would clearly make its use unsafe. Rescue operations must not be delayed due to detailed inspection of the product.
 WARNING! The procedure described below represents a generally effective and recommended practice. However, the person in charge of the rescue or the rescuer may decide to use a different procedure if, based on the situation, it is considered more appropriate.
For the full Instruction For Use with all the safety warnings please click here.